Table Of Content
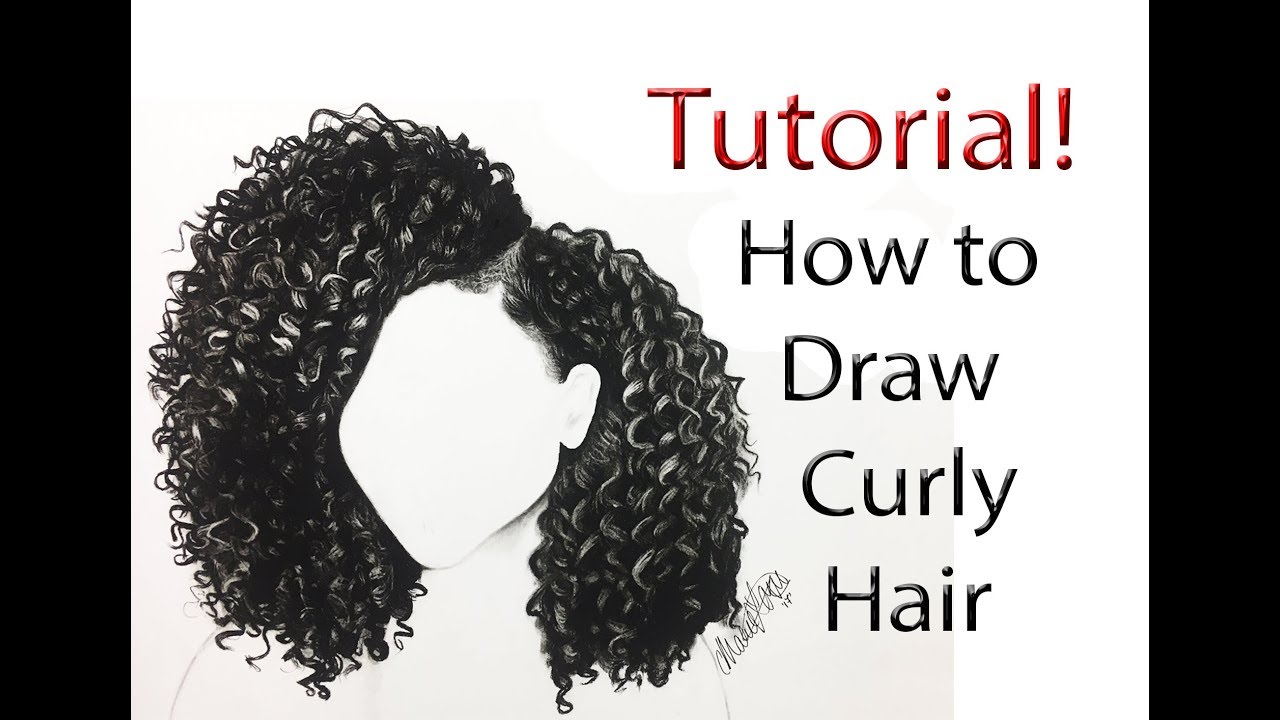
In this tutorial, I will introduce 4 simple steps for drawing realistic looking hair. Add the details to the curls, such as the texture of the hair, and loose strands of hair around the curls. You can also include other features such as the ears tucked behind the curls or an accessory like a hairband or scarf.
Reader Success Stories
This protective coating helps set the graphite in place, ensuring the longevity and integrity of your artwork. A diverse range of pencils is indispensable for rendering the intricate textures and shading of curly hair. Opt for a set of high-quality graphite pencils with varying degrees of hardness, such as 2H for light sketching, HB for general outlining, and 2B to 6B for adding depth and shading.
In Japan, curly hair makes you stand out. This entrepreneur says 'embrace it.' - The Japan Times
In Japan, curly hair makes you stand out. This entrepreneur says 'embrace it.'.
Posted: Sun, 20 Aug 2023 07:00:00 GMT [source]
Step 5 – Draw two Diagonal Lines and Connect the Edges of the Horizontal Line

I would recommend creating a new layer every time after you blend one area. I'm using the "detail - soft" brush from my set of hair brushes. Now create longer lines that join the lines you created before. Drawing hair may seem hard, but you’ll see it’s pretty easy to do. Just a few more lines will be needed for the remaining portion of hair, and you can add in some lines to make the collarbone under the neck.
Learn From Top Artists
In this stage, I usually opt for a 0.5mm HB–4B for touch-ups and a very dull 6B to fill some white space without making it look too busy. Strictly Necessary Cookie should be enabled at all times so that we can save your preferences for cookie settings. The line on the right should be slightly shorter than the one on the left.
How to Draw Spiderman – A Step by Step Guide
Now that you have the start of the hair on your curly hair drawing, you can start to work in more. I would recommend working from right to left from the hair that you drew in the previous step. Finally, when you've fleshed out your sketch enough, it is time to go over it in ink. So, using your pen of choice (we recommend a technical pen, like Sakura Pigma Microns), slowly go over the lines.
Step 2 – Draw Horizontal Lines
So, darken around the curl’s ringlets and the underside of the curls. Draw guidelines shapes indicating the direction of the flow of the hair. But it seems that curly hair is even more complicated to draw than straight hair. Instead, I'm going to put the emphasis on establishing soft "clumps" of hair. I recommend keeping organic lines and shapes in mind—varied lines are going to look more natural. For example, coily hair isn't straight, so I like to avoid using straight lines.
Use a range of pencils, from 2B to 6B, to create contrast and dimension within the curls. Pay attention to the areas where shadows fall and the areas that catch highlights, enhancing the three-dimensional quality of the hair. Precision erasers, including kneaded erasers and fine detail erasers, are essential for refining the delicate lines and correcting any mistakes without smudging the paper. These erasers allow for precise erasing and shaping of the curly hair strands and highlights.
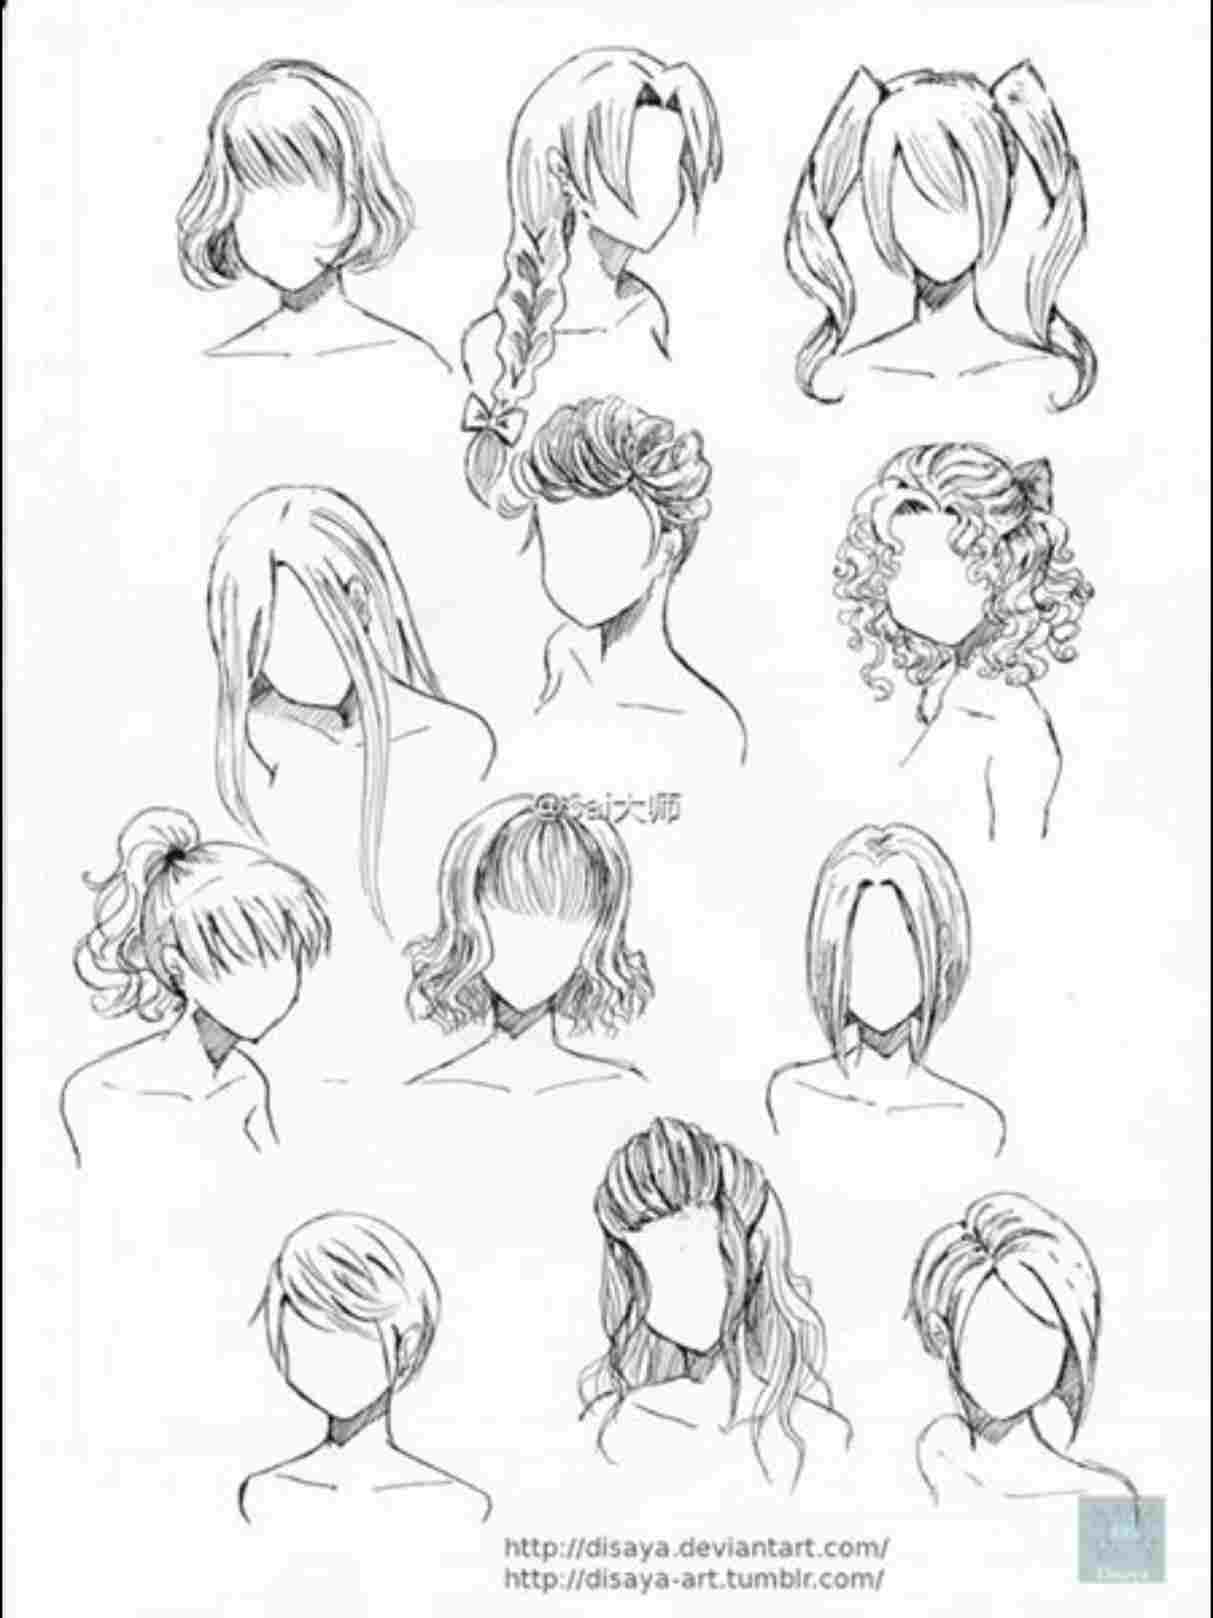
How to Draw Straight Hair Step by Step
"Type 4" generally refers to the Andre Walker Hair Typing System. This system is often used as a general classification for identifying hair's attributes (and it isn't without its flaws and valid criticisms). It has been further adapted by and expanded upon by others, as well. Since this system is widely used and referred to, we'll use it as a starting point in this tutorial. Drawing a Single Lock of Curl is what you need to be very clear about to fully complete the Head Study.
Step 38 – Draw fill Curls
However, with some practice and following a few simple steps, anyone can learn to create stunning curly hair drawings. Here’s a comprehensive guide that provides clear instructions, tips, and techniques for beginners. When embarking on the artistic endeavor of drawing curly hair, having the right tools and materials at your disposal is essential for bringing your creative vision to life. From sketching the initial outlines to adding intricate details, the following tools and materials will equip you to capture the unique beauty of curly hair with precision and artistry. By honing their skills and embracing the nuances of curly hair, artists can create captivating and evocative representations that resonate with authenticity and visual allure.
Repeat this process as you move down the strand so that every diagonal line that touches the right side connects back to the left side. One more thing to get better at rendering is to determine the light source cause the light reflection of the individual curl is an essential factor. You’ll get stuck in the complexity of curls.so use guidelines of each curl for better results. So this will help you to understand you to draw each curl more precisely but if you don’t use the guideline. Again, the hair here isn't perfectly straight, so I like to avoid using straight lines.
These tools enable you to create a natural and realistic appearance, enhancing the overall texture and depth of the curly hair. You should be left with fewer squiggly lines and more clearly defined strands of curly hair so the drawing will look less messy. Now you’ve been around the whole head of hair and created the main curls, go back to where you started and draw more hairs in between the existing lines. Repeat the step of drawing slightly smaller strands of curly hair flowing down from the right side of the jaw, as if the hair has been pulled forward. Now it’s time to add in some curly hair on the lower right side. Again, start from around the bottom of the first few strands you drew on this side and create a new long curl.
If you draw hair without the 3 dimensional shape of the human head in mind, it will lack volume and you risk chopping off a part of the skull. For most people with long hair, you can expect at least 2 centimeters of “hair height” on top of their actual height and at least 2 centimeters on the sides as well. Starting with a light sketch of the hairline can help you create a more realistic-looking hairline. Using reference images, you can learn how hairlines look on different head shapes. Using a reference image can enhance the accuracy and realism of your drawing.
This is because the middle of these sections will be where the light is, so it’s important to keep it clean. Once you’re done with that, join these shapes using inverted “S” like shapes. At the top of the guidelines, draw an “S” that just got home tired from work.
Because curly hair can be rather thick, you should leave a reasonable gap between the facial form and the top of the hair to provide volume. This will ensure that the finished picture does not appear to be excessively flat or two-dimensional. This is an article showcasing how to draw curls step-by-step Side profile guide on a Boy that will help you to in-depth study the detailed instructional process with helpful illustrations.


No comments:
Post a Comment